How to Build a WordPress Theme Options Panel with CodeStar Framework
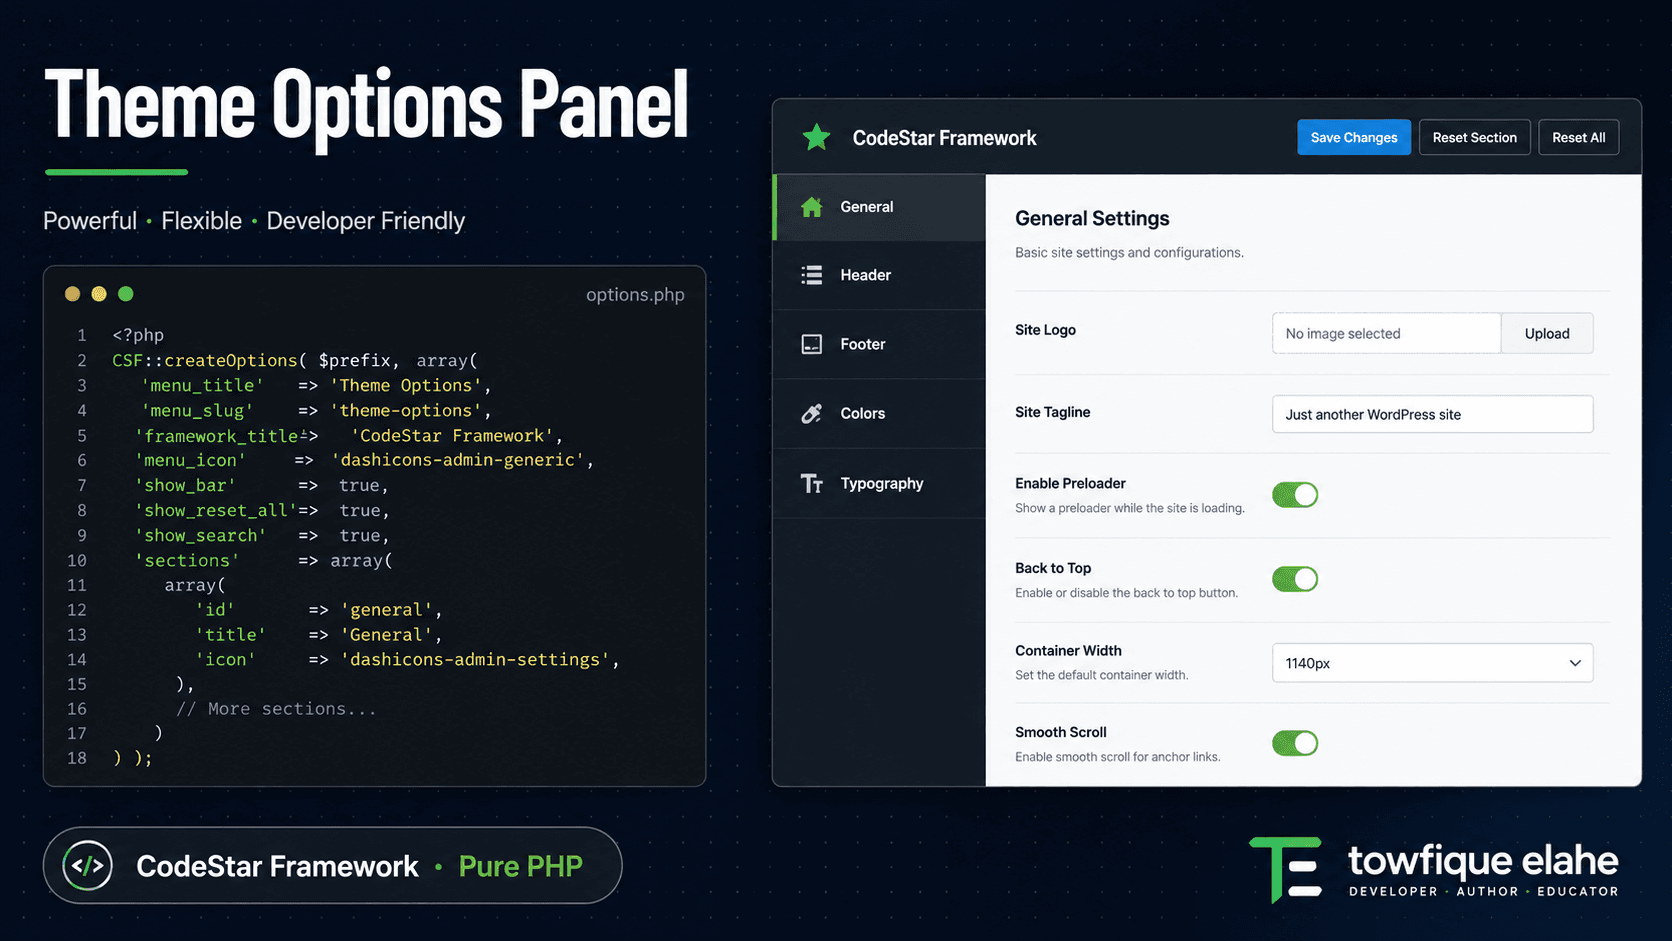
Building a global settings panel for your WordPress theme doesn't require a bloated plugin. CodeStar Framework lets you create a fully custom theme options panel in pure PHP — with tabs, sections, rich field types, and live preview support. Here's how to build one properly from scratch.
What Is a Theme Options Panel?
A theme options panel is a dedicated admin page where site owners can control global settings — logo, colors, typography, contact details, social links, footer text, scripts — without touching any code. It's a standard expectation on professional WordPress themes and client builds.
Most developers reach for plugins like Redux Framework or Customizer-based solutions, but CodeStar Framework (CSF) provides a cleaner, code-first approach. Everything is defined in PHP configuration arrays, bundled inside your theme, and requires no separate plugin installation.
This guide builds a complete, multi-tab theme options panel from scratch using CSF — covering setup, field registration, tab organization, and retrieving values in templates.
Prerequisites
This guide assumes CSF is already bundled inside your theme at inc/csf/csf.php and loaded from functions.php. If you haven't set that up yet, refer to the previous post on Custom Metaboxes with CodeStar Framework for the installation steps — they're identical.
Creating the Options Panel
The options panel is registered using CSF::createOptions(). Give it a unique ID — this becomes the key used to retrieve all values later. The second argument is the panel configuration:
if ( class_exists( 'CSF' ) ) {

    CSF::createOptions( 'theme_options', array(
        'menu_title'  => 'Theme Options',
        'menu_slug'   => 'theme-options',
        'menu_type'   => 'menu',
        'menu_icon'   => 'dashicons-admin-customizer',
        'menu_position'=> 60,
        'framework_title' => 'Theme Options',
    ) );

}
Save this and visit the WordPress admin — you'll see a new Theme Options menu item in the sidebar. It's empty for now; sections and fields come next.
Adding Tabs with Sections
CSF options panels are organized into sections, each rendered as a tab in the sidebar navigation. Use CSF::createSection() and pass the panel ID as the first argument:
// General Tab
CSF::createSection( 'theme_options', array(
    'title'  => 'General',
    'icon'   => 'fas fa-cog',
    'fields' => array(

        array(
            'id'    => 'site_logo',
            'type'  => 'media',
            'title' => 'Site Logo',
            'library' => 'image',
        ),

        array(
            'id'    => 'site_favicon',
            'type'  => 'media',
            'title' => 'Favicon',
            'library' => 'image',
        ),

        array(
            'id'      => 'preloader_enable',
            'type'    => 'switcher',
            'title'   => 'Enable Preloader',
            'default' => false,
        ),

    ),
) );
Each createSection() call adds one tab. Repeat this pattern for every tab in your panel — Header, Footer, Colors, Typography, Social Links, and so on.
Header Settings Tab
CSF::createSection( 'theme_options', array(
    'title'  => 'Header',
    'icon'   => 'fas fa-window-maximize',
    'fields' => array(

        array(
            'id'      => 'header_sticky',
            'type'    => 'switcher',
            'title'   => 'Sticky Header',
            'default' => true,
        ),

        array(
            'id'      => 'header_bg_color',
            'type'    => 'color',
            'title'   => 'Header Background',
            'default' => '#ffffff',
        ),

        array(
            'id'      => 'header_text_color',
            'type'    => 'color',
            'title'   => 'Header Text Color',
            'default' => '#111111',
        ),

        array(
            'id'    => 'header_cta_text',
            'type'  => 'text',
            'title' => 'CTA Button Text',
            'default' => 'Get In Touch',
        ),

        array(
            'id'    => 'header_cta_url',
            'type'  => 'text',
            'title' => 'CTA Button URL',
            'default' => '/contact',
        ),

    ),
) );
Footer Settings Tab
CSF::createSection( 'theme_options', array(
    'title'  => 'Footer',
    'icon'   => 'fas fa-window-minimize',
    'fields' => array(

        array(
            'id'      => 'footer_bg_color',
            'type'    => 'color',
            'title'   => 'Footer Background',
            'default' => '#111111',
        ),

        array(
            'id'    => 'footer_copyright',
            'type'  => 'text',
            'title' => 'Copyright Text',
            'default' => '© 2025 Your Company. All rights reserved.',
        ),

        array(
            'id'    => 'footer_logo',
            'type'  => 'media',
            'title' => 'Footer Logo',
            'library' => 'image',
        ),

    ),
) );
Typography Tab
CSF's typography field type provides a full font picker — family, weight, style, size, line height, letter spacing — with Google Fonts support built in:
CSF::createSection( 'theme_options', array(
    'title'  => 'Typography',
    'icon'   => 'fas fa-font',
    'fields' => array(

        array(
            'id'       => 'body_typography',
            'type'     => 'typography',
            'title'    => 'Body Font',
            'default'  => array(
                'font-family' => 'Inter',
                'font-weight' => '400',
                'font-size'   => '16px',
                'line-height' => '1.6',
                'type'        => 'google',
            ),
        ),

        array(
            'id'       => 'heading_typography',
            'type'     => 'typography',
            'title'    => 'Heading Font',
            'default'  => array(
                'font-family' => 'Poppins',
                'font-weight' => '700',
                'type'        => 'google',
            ),
        ),

    ),
) );
To render the selected Google Fonts, enqueue them in wp_enqueue_scripts by reading these values and building the Google Fonts URL dynamically.
Social Links Tab
CSF::createSection( 'theme_options', array(
    'title'  => 'Social Links',
    'icon'   => 'fas fa-share-alt',
    'fields' => array(

        array(
            'id'    => 'social_facebook',
            'type'  => 'text',
            'title' => 'Facebook URL',
        ),

        array(
            'id'    => 'social_twitter',
            'type'  => 'text',
            'title' => 'Twitter / X URL',
        ),

        array(
            'id'    => 'social_linkedin',
            'type'  => 'text',
            'title' => 'LinkedIn URL',
        ),

        array(
            'id'    => 'social_github',
            'type'  => 'text',
            'title' => 'GitHub URL',
        ),

        array(
            'id'    => 'social_instagram',
            'type'  => 'text',
            'title' => 'Instagram URL',
        ),

    ),
) );
Custom Code Tab
A custom code tab is useful for letting clients or developers inject tracking scripts, header scripts, and custom CSS without editing theme files directly:
CSF::createSection( 'theme_options', array(
    'title'  => 'Custom Code',
    'icon'   => 'fas fa-code',
    'fields' => array(

        array(
            'id'    => 'header_scripts',
            'type'  => 'code_editor',
            'title' => 'Header Scripts',
            'desc'  => 'Injected before </head>. Use for analytics, tag managers, fonts.',
            'settings' => array( 'mode' => 'htmlmixed' ),
        ),

        array(
            'id'    => 'footer_scripts',
            'type'  => 'code_editor',
            'title' => 'Footer Scripts',
            'desc'  => 'Injected before </body>. Use for chat widgets, conversion scripts.',
            'settings' => array( 'mode' => 'htmlmixed' ),
        ),

        array(
            'id'    => 'custom_css',
            'type'  => 'code_editor',
            'title' => 'Custom CSS',
            'settings' => array( 'mode' => 'css' ),
        ),

    ),
) );
Retrieving Options in Templates
CSF stores all options as a single serialized array under the panel ID as the option name. Retrieve everything at once with:
$options = get_option( 'theme_options' );
Then access individual fields by their id:
$logo         = isset( $options['site_logo'] ) ? $options['site_logo'] : '';
$sticky       = isset( $options['header_sticky'] ) ? $options['header_sticky'] : false;
$copyright    = isset( $options['footer_copyright'] ) ? $options['footer_copyright'] : '';
$facebook_url = isset( $options['social_facebook'] ) ? $options['social_facebook'] : '';
For cleaner template code, create a helper function in functions.php that retrieves a single option by key with a fallback:
function theme_option( $key, $default = '' ) {
    $options = get_option( 'theme_options', array() );
    return isset( $options[ $key ] ) ? $options[ $key ] : $default;
}
Now in any template file:
$logo      = theme_option( 'site_logo' );
$copyright = theme_option( 'footer_copyright', '© ' . date('Y') . ' All rights reserved.' );
$github    = theme_option( 'social_github' );
This is much cleaner than repeating get_option() and isset() checks throughout every template file.
Injecting Header and Footer Scripts
Hook into wp_head and wp_footer to output the custom scripts saved in the options panel:
function orbit_inject_header_scripts() {
    $scripts = theme_option( 'header_scripts' );
    if ( ! empty( $scripts ) ) {
        echo $scripts; // already sanitized on save by CSF
    }
}
add_action( 'wp_head', 'orbit_inject_header_scripts', 99 );

function orbit_inject_footer_scripts() {
    $scripts = theme_option( 'footer_scripts' );
    if ( ! empty( $scripts ) ) {
        echo $scripts;
    }
}
add_action( 'wp_footer', 'orbit_inject_footer_scripts', 99 );
Do the same for custom CSS, outputting it inside a <style> tag via wp_head:
function orbit_inject_custom_css() {
    $css = theme_option( 'custom_css' );
    if ( ! empty( $css ) ) {
        echo '<style>' . strip_tags( $css ) . '</style>';
    }
}
add_action( 'wp_head', 'orbit_inject_custom_css', 100 );
Nesting Sub-Sections Inside a Tab
For complex panels, CSF supports sub-sections — nested tabs inside a parent tab. Pass the parent section's ID as the parent key:
CSF::createSection( 'theme_options', array(
    'id'    => 'colors_section',
    'title' => 'Colors',
    'icon'  => 'fas fa-palette',
) );

CSF::createSection( 'theme_options', array(
    'parent' => 'colors_section',
    'title'  => 'Primary Colors',
    'fields' => array(
        array(
            'id'      => 'primary_color',
            'type'    => 'color',
            'title'   => 'Primary Color',
            'default' => '#0066FF',
        ),
        array(
            'id'      => 'secondary_color',
            'type'    => 'color',
            'title'   => 'Secondary Color',
            'default' => '#FF6600',
        ),
    ),
) );

CSF::createSection( 'theme_options', array(
    'parent' => 'colors_section',
    'title'  => 'Text Colors',
    'fields' => array(
        array(
            'id'      => 'text_primary',
            'type'    => 'color',
            'title'   => 'Primary Text',
            'default' => '#111111',
        ),
        array(
            'id'      => 'text_muted',
            'type'    => 'color',
            'title'   => 'Muted Text',
            'default' => '#666666',
        ),
    ),
) );
Best Practices
- Keep all options registration in
inc/theme-options.phpand require it fromfunctions.php— never scattercreateSection()calls across multiple files. - Always set default values on every field — templates should never break when a client visits the options panel for the first time without saving anything.
- Use the helper function pattern — a single
theme_option()function with a fallback is far cleaner than repeatingget_option()andisset()in every template. - Sanitize script outputs — while CSF handles basic sanitization on save, always apply
strip_tags()on CSS and review what's allowed in script fields on public-facing sites. - Don't overload the panel — if a setting is post-specific, it belongs in a metabox, not the global options panel. Global options are for site-wide defaults only.
Final Thoughts
A well-structured theme options panel is the difference between a WordPress theme that feels like a product and one that feels like a template. CodeStar Framework gives you every field type you need to build it — in code, without plugin dependencies, and with full control over the data structure.
Combined with the CPT and metabox setup covered in previous posts, this completes the core architecture for any professional WordPress theme: structured content types, per-post custom fields, and global site settings — all managed cleanly in PHP.
In the next post, we'll shift to the front end — how to build a dynamic filtering system for Custom Post Types using AJAX and WP_Query, without page reloads.