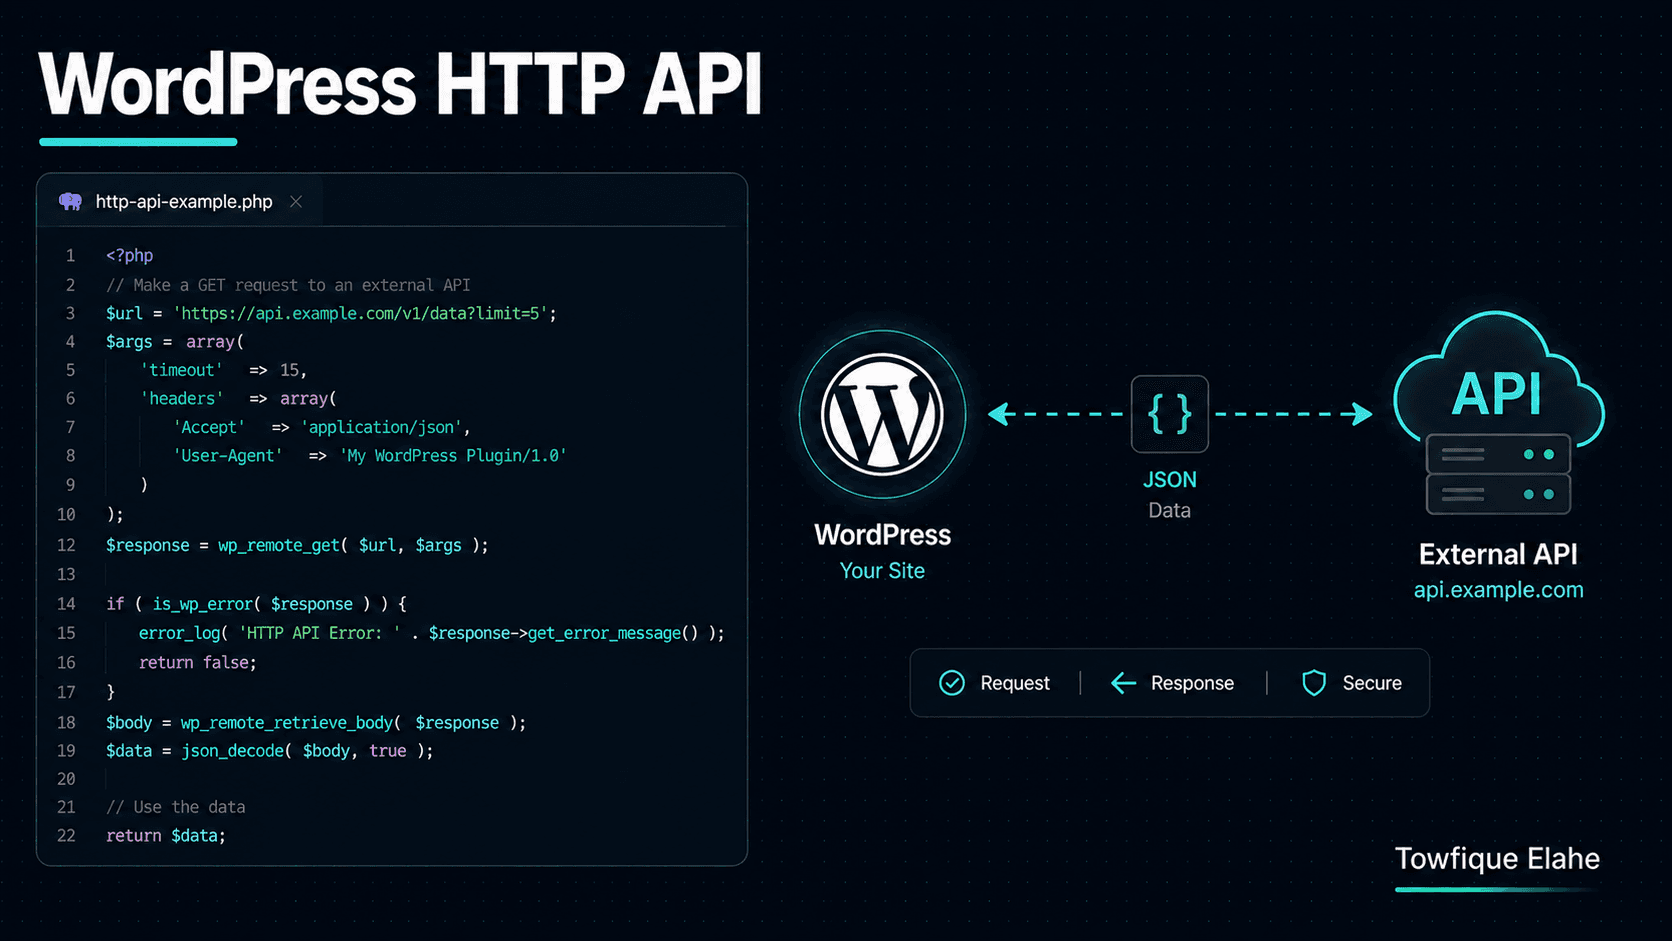
How to Make External API Requests in WordPress with the HTTP API
Connecting WordPress to third-party services — payment gateways, CRMs, weather data, AI APIs — starts with the WordPress HTTP API. Learn how to make secure GET and POST requests with wp_remote_get and wp_remote_post, handle responses and errors properly, cache results, and store API keys safely.
Why Use the WordPress HTTP API?
Modern WordPress sites rarely live in isolation. They pull in weather data, send contact submissions to a CRM, verify payments, fetch social feeds, or call AI services. Every one of those integrations needs your site to make an HTTP request to an external server.
You could reach for raw PHP cURL or file_get_contents() — but you shouldn't. WordPress provides a dedicated HTTP API that wraps all of this in a consistent, reliable interface. It automatically picks the best available transport method for the server, handles SSL properly, respects WordPress's proxy settings, and returns responses in a predictable structure.
This guide covers making GET and POST requests, handling responses and errors correctly, caching results for performance, and storing API credentials securely — the complete toolkit for any third-party integration.
The Core Functions
The HTTP API provides a handful of functions. These are the ones you'll use constantly:
wp_remote_get()— make a GET request to fetch data.wp_remote_post()— make a POST request to send data.wp_remote_request()— make a request with any method (PUT, DELETE, etc.).wp_remote_retrieve_body()— extract the response body.wp_remote_retrieve_response_code()— get the HTTP status code.
The pattern is always the same: make the request, check for errors, verify the status code, then extract and use the body.
Step 1: A Basic GET Request
Here's the fundamental structure of a GET request, with the error and status handling that should always accompany it:
function orbit_fetch_data( $url ) {

    $response = wp_remote_get( $url );

    // 1. Check for a WordPress-level error (network failure, timeout, etc.)
    if ( is_wp_error( $response ) ) {
        return new WP_Error(
            'request_failed',
            $response->get_error_message()
        );
    }

    // 2. Check the HTTP status code
    $status = wp_remote_retrieve_response_code( $response );

    if ( 200 !== $status ) {
        return new WP_Error(
            'bad_status',
            "API returned status code $status"
        );
    }

    // 3. Extract and decode the body
    $body = wp_remote_retrieve_body( $response );
    $data = json_decode( $body, true );

    if ( null === $data ) {
        return new WP_Error( 'invalid_json', 'Could not decode API response' );
    }

    return $data;
}
These three checks are the non-negotiable core of every API call. External services fail — networks drop, servers return errors, responses come back malformed. Handling each layer means your integration degrades gracefully instead of crashing the site with a fatal error.
Understanding is_wp_error
The most important habit when using the HTTP API is checking is_wp_error() on every response. Unlike a status code error, a WP_Error means the request never completed at all — a DNS failure, a timeout, an SSL problem, or no connection.
If you skip this check and try to read the body of a failed request, you'll get errors because $response is a WP_Error object, not the expected array. Always check first:
$response = wp_remote_get( $url );

if ( is_wp_error( $response ) ) {
    // The request failed to complete — handle it
    error_log( 'API request failed: ' . $response->get_error_message() );
    return false;
}

// Safe to proceed — the request completed (though the status may still be an error)
Step 2: Passing Arguments and Headers
Real API requests need configuration — timeouts, authentication headers, custom parameters. Pass these as a second argument array:
$response = wp_remote_get( $url, array(
    'timeout'     => 15,                          // seconds before giving up
    'redirection' => 5,                           // max redirects to follow
    'headers'     => array(
        'Authorization' => 'Bearer ' . $api_key,
        'Accept'        => 'application/json',
    ),
) );
The timeout setting is important: the default is only 5 seconds, which some APIs exceed. But don't set it too high either — a long timeout on a slow API can hang your page load. Fifteen seconds is a reasonable balance for most third-party services.
Step 3: Making a POST Request
To send data to an API — submitting a form, creating a record, authenticating — use wp_remote_post(). The body can be form-encoded or JSON depending on what the API expects.
For a JSON API (common with modern services):
function orbit_send_data( $url, $data, $api_key ) {

    $response = wp_remote_post( $url, array(
        'timeout' => 15,
        'headers' => array(
            'Content-Type'  => 'application/json',
            'Authorization' => 'Bearer ' . $api_key,
        ),
        'body'    => wp_json_encode( $data ),  // encode the array as JSON
    ) );

    if ( is_wp_error( $response ) ) {
        return new WP_Error( 'request_failed', $response->get_error_message() );
    }

    $status = wp_remote_retrieve_response_code( $response );
    $body   = json_decode( wp_remote_retrieve_body( $response ), true );

    // Many APIs use 200 or 201 for success
    if ( ! in_array( $status, array( 200, 201 ), true ) ) {
        return new WP_Error( 'api_error', 'API request failed', $body );
    }

    return $body;
}
Note wp_json_encode() rather than plain json_encode() — the WordPress wrapper adds safety and consistency. For APIs expecting form-encoded data instead, pass a plain array as the body without JSON encoding and set the appropriate content type.
Step 4: Store API Keys Securely
API credentials should never be hardcoded in your plugin files, and never committed to version control. There are two good approaches depending on the context.
For site-specific keys entered by the user, store them via the Settings API (covered in an earlier post) and retrieve them when needed:
$options = get_option( 'orbit_api_settings' );
$api_key = isset( $options['api_key'] ) ? $options['api_key'] : '';
For keys that belong in the environment (especially in headless or version-controlled setups), define them in wp-config.php, which sits outside the web root's tracked code:
// In wp-config.php
define( 'ORBIT_API_KEY', 'your-secret-key-here' );

// In your plugin
$api_key = defined( 'ORBIT_API_KEY' ) ? ORBIT_API_KEY : '';
The golden rule: API keys are secrets. Treat them like passwords — out of your codebase, out of your repository, and never exposed to the front end or logged in plain text.
Step 5: Cache API Responses
External API calls are slow and often rate-limited. Making the same request on every page load is wasteful and can hit usage limits fast. The solution is the Transients API (covered earlier in this series) — cache the response and only hit the external API when the cache expires.
function orbit_get_weather( $city ) {

    $cache_key = 'orbit_weather_' . md5( $city );

    // Try the cache first
    $cached = get_transient( $cache_key );
    if ( false !== $cached ) {
        return $cached;
    }

    // Cache miss — make the actual API call
    $url = add_query_arg(
        array( 'city' => $city, 'key' => ORBIT_API_KEY ),
        'https://api.example.com/weather'
    );

    $response = wp_remote_get( $url, array( 'timeout' => 15 ) );

    if ( is_wp_error( $response ) ) {
        return false;
    }

    $data = json_decode( wp_remote_retrieve_body( $response ), true );

    // Cache for 30 minutes — weather changes, but not every second
    set_transient( $cache_key, $data, 30 * MINUTE_IN_SECONDS );

    return $data;
}
Choose the cache duration based on how fresh the data needs to be: weather might cache for 30 minutes, currency rates for an hour, a rarely-changing product catalog for a day. Caching is what turns a slow, rate-limited integration into a fast, reliable one.
Building URLs Safely with add_query_arg
Notice add_query_arg() in the example above. It's the correct WordPress way to build URLs with query parameters — it handles encoding and formatting so you don't manually concatenate query strings:
$url = add_query_arg(
    array(
        'lat'   => 23.81,
        'lon'   => 90.41,
        'units' => 'metric',
    ),
    'https://api.example.com/data'
);
// Result: https://api.example.com/data?lat=23.81&lon=90.41&units=metric
This properly URL-encodes values, avoiding bugs when parameters contain spaces or special characters.
Step 6: Handle Rate Limits Gracefully
Many APIs limit how many requests you can make per minute or hour. Hitting the limit typically returns a 429 Too Many Requests status. A robust integration detects this and backs off rather than hammering the API:
$status = wp_remote_retrieve_response_code( $response );

if ( 429 === $status ) {
    // Respect the Retry-After header if present
    $retry_after = wp_remote_retrieve_header( $response, 'retry-after' );
    $wait = $retry_after ? absint( $retry_after ) : 60;

    // Cache a "backoff" flag so we stop calling until the window passes
    set_transient( 'orbit_api_backoff', true, $wait );

    return new WP_Error( 'rate_limited', "Rate limited. Retry in $wait seconds." );
}
Then check that backoff flag before making requests, skipping the call entirely while you're in the penalty window. Aggressive caching (the previous step) is your first line of defense against rate limits; graceful backoff is the safety net.
Step 7: Retry Logic for Transient Failures
Sometimes a request fails for a momentary reason — a brief network blip or a temporary server hiccup. For important requests, a simple retry with a short delay can turn a failure into a success:
function orbit_request_with_retry( $url, $args = array(), $max_attempts = 3 ) {

    $attempt = 0;

    while ( $attempt < $max_attempts ) {
        $response = wp_remote_get( $url, $args );

        // Success — return immediately
        if ( ! is_wp_error( $response ) &&
             200 === wp_remote_retrieve_response_code( $response ) ) {
            return $response;
        }

        $attempt++;

        // Brief pause before retrying (skip after the last attempt)
        if ( $attempt < $max_attempts ) {
            sleep( 1 );
        }
    }

    return new WP_Error( 'max_retries', 'Request failed after retries' );
}
Use retry logic judiciously — it's valuable for critical operations, but don't retry on requests that shouldn't be repeated (like a payment charge) unless the API explicitly supports safe retries through idempotency keys.
Step 8: Never Block the Page for Non-Critical Calls
If an API call doesn't need to affect what the user sees immediately — logging an event, syncing data to a CRM, sending a notification — don't make the user wait for it. WordPress lets you fire a non-blocking request that returns instantly without waiting for the response:
wp_remote_post( $url, array(
    'blocking' => false,   // don't wait for the response
    'timeout'  => 1,
    'body'     => $data,
) );
With 'blocking' => false, WordPress sends the request and moves on immediately. The page loads fast, and the background service still receives the data. For anything the user doesn't need a result from, this is the right approach.
For heavier background work, consider scheduling it with WP-Cron instead, so it runs entirely outside the user's request.
Best Practices Checklist
- Always check
is_wp_error()before touching the response. - Always verify the status code — a completed request can still be a 404 or 500.
- Set a sensible timeout — the 5-second default is often too short, but don't go excessive.
- Cache responses with transients to cut latency and avoid rate limits.
- Store API keys securely — in settings or
wp-config.php, never hardcoded or committed. - Build URLs with
add_query_arg()for proper encoding. - Handle rate limits with backoff, and use non-blocking requests for non-critical calls.
- Use
wp_json_encode()for JSON request bodies.
Final Thoughts
The WordPress HTTP API is the correct foundation for every external integration you'll build — from a simple weather widget to a full payment gateway or AI service. Its value isn't just convenience; it's reliability. By handling transports, SSL, and proxies consistently, and by returning predictable responses, it lets you focus on the integration logic rather than the plumbing.
The difference between a fragile integration and a professional one comes down to how you handle the unhappy paths: checking for errors, verifying status codes, caching aggressively, respecting rate limits, and never blocking the page for work that can happen in the background. Build those habits in from the start, and your integrations will stay fast and resilient even when the APIs they depend on don't.
In the next post, we'll build a complete real-world integration using everything from this series — connecting a WordPress form to an external CRM, with secure key storage, validation, error handling, and background syncing all working together.