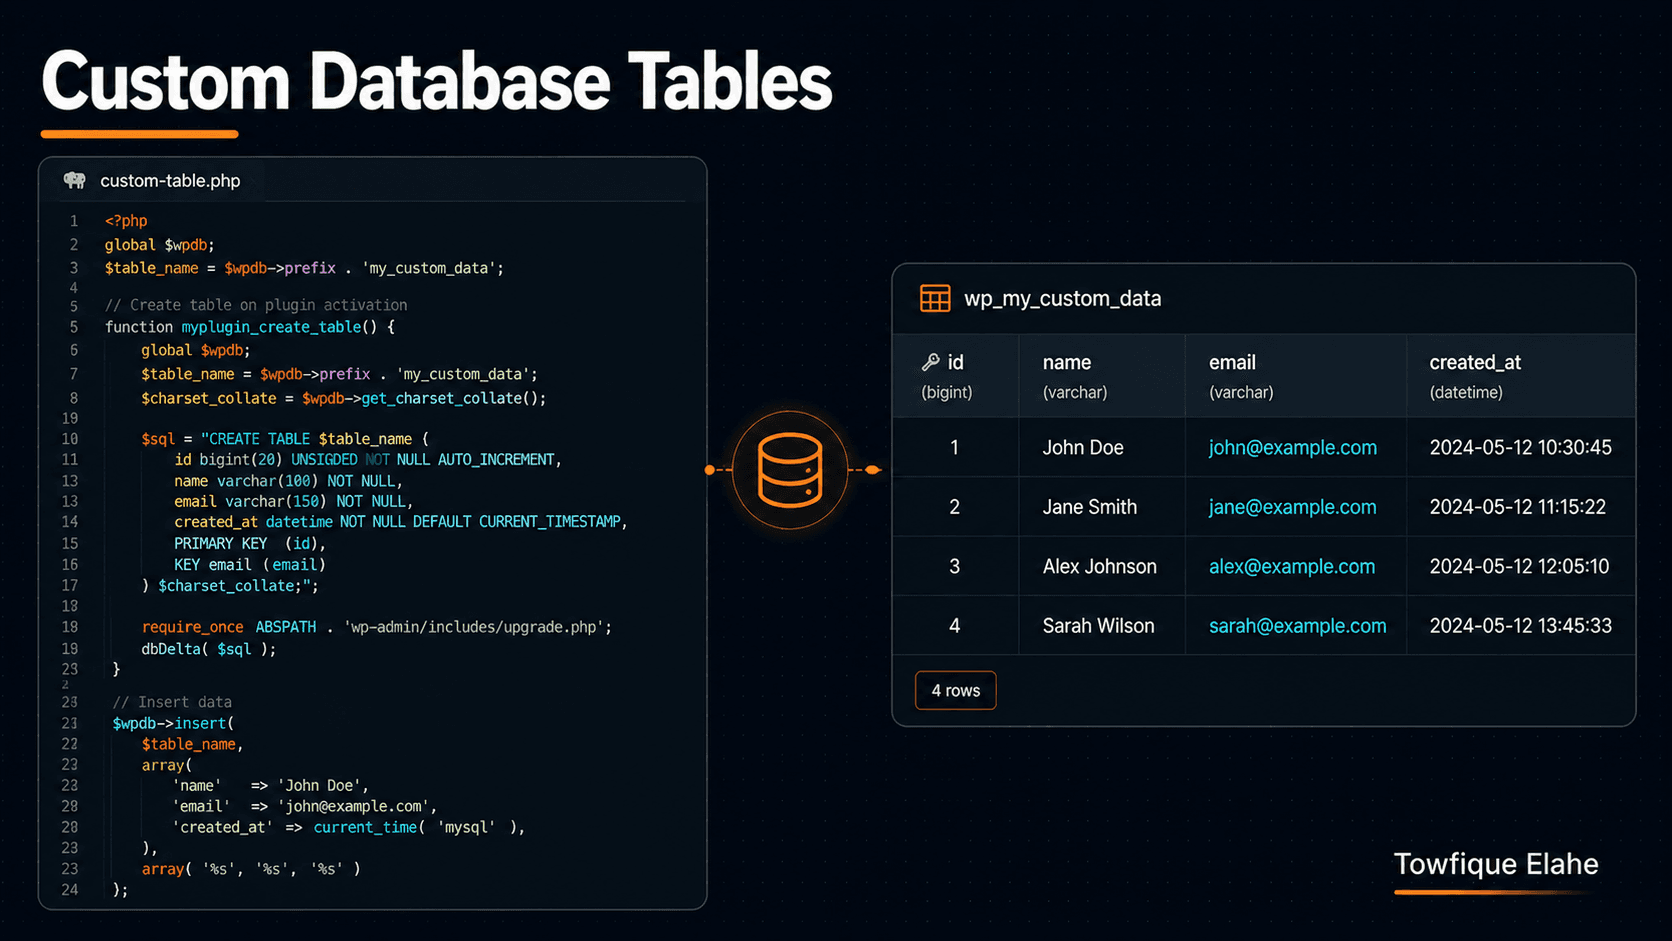
How to Create and Use Custom Database Tables in WordPress Plugins
Post meta is convenient, but it's the wrong tool for large volumes of structured, queryable data. Learn when to create a custom database table in a WordPress plugin, how to build the schema safely with dbDelta, and how to insert, query, update, and delete rows securely using the $wpdb class.
When You Actually Need a Custom Table
WordPress gives you post meta, options, and custom post types — and for most data, those are exactly right. But sometimes they're the wrong tool. Storing thousands of form submissions, activity logs, or relational records as post meta leads to a bloated wp_postmeta table and slow, awkward queries.
A custom database table is the right choice when you have large volumes of structured data that you need to query efficiently — data that doesn't map naturally onto posts. Think form entries, event logs, analytics records, or any dataset with consistent columns you'll filter, sort, and paginate.
This guide covers the full lifecycle: deciding when a custom table makes sense, creating the schema safely, and performing secure CRUD operations with the $wpdb class. We'll extend the Testimonials plugin with a table that logs when testimonials are viewed.
Post Meta vs. Custom Table: The Decision
Before creating a table, make sure you actually need one. Use this rule of thumb:
- Use post meta when the data belongs to a specific post, is limited in volume, and you query it alongside the post (e.g., a project's client name).
- Use options for site-wide settings and small configuration data.
- Use a custom table when you have many rows of uniform, structured data that you need to query independently — filtering, sorting, aggregating — without loading posts.
Custom tables add complexity and don't benefit from WordPress's built-in caching and functions, so don't reach for one unless the data genuinely calls for it. When it does, though, nothing else performs as well.
Understanding the $wpdb Class
WordPress provides a global $wpdb object as the safe, standard way to interact with the database. Always use it instead of raw PHP database functions — it handles the connection, provides security methods, and respects the site's table prefix.
global $wpdb;

// The table prefix (usually wp_, but never assume — always use this)
echo $wpdb->prefix;           // e.g. "wp_"

// Core table helpers
echo $wpdb->posts;            // wp_posts
echo $wpdb->postmeta;         // wp_postmeta
Never hardcode wp_ as the prefix — many installs use a custom prefix for security. Always build table names from $wpdb->prefix so your plugin works everywhere.
Step 1: Define the Table Name
Create a class to manage the custom table. Start by building the prefixed table name:
// includes/class-view-log.php

if ( ! defined( 'ABSPATH' ) ) {
    exit;
}

class Orbit_Testimonials_View_Log {

    /**
     * Get the full table name with prefix.
     */
    public static function table_name() {
        global $wpdb;
        return $wpdb->prefix . 'orbit_testimonial_views';
    }
}
Using a static method for the table name means you reference it consistently everywhere without repeating the prefix logic.
Step 2: Create the Table with dbDelta
WordPress provides a special function, dbDelta(), for creating and updating tables. It's smart — it compares your schema against the existing table and applies only the differences, which means the same function safely handles both first-time creation and later schema updates.
dbDelta() is famously particular about formatting, so follow its rules exactly:
public static function create_table() {

    global $wpdb;

    $table_name      = self::table_name();
    $charset_collate = $wpdb->get_charset_collate();

    // dbDelta is strict: two spaces after PRIMARY KEY,
    // each field on its own line, specific formatting.
    $sql = "CREATE TABLE $table_name (
        id bigint(20) unsigned NOT NULL AUTO_INCREMENT,
        testimonial_id bigint(20) unsigned NOT NULL,
        viewed_at datetime DEFAULT CURRENT_TIMESTAMP NOT NULL,
        visitor_ip varchar(45) DEFAULT '' NOT NULL,
        PRIMARY KEY  (id),
        KEY testimonial_id (testimonial_id)
    ) $charset_collate;";

    require_once ABSPATH . 'wp-admin/includes/upgrade.php';
    dbDelta( $sql );
}
Critical dbDelta() formatting rules that trip everyone up:
- Two spaces between
PRIMARY KEYand the definition — not one. - Each field and key on its own line.
- Use
KEYnotINDEXfor indexes. - Field types lowercase.
- Always include
$wpdb->get_charset_collate()for proper character encoding.
The KEY testimonial_id line adds an index on that column — essential for fast queries when you filter by testimonial. Index the columns you'll query against.
Step 3: Run Table Creation on Activation
Create the table when the plugin activates, and store a schema version so you can handle future updates:
// In the main plugin activation hook
function orbit_testimonials_activate() {

    require_once ORBIT_TESTIMONIALS_PATH . 'includes/class-view-log.php';
    Orbit_Testimonials_View_Log::create_table();

    // Store the schema version for future migrations
    update_option( 'orbit_testimonials_db_version', '1.0.0' );

    flush_rewrite_rules();
}
register_activation_hook( __FILE__, 'orbit_testimonials_activate' );
Storing a DB version option lets you detect when the schema needs upgrading in a future release — you compare the stored version against the current one and run create_table() again (dbDelta handles the diff) if they differ.
Step 4: Insert Rows Safely
The $wpdb->insert() method is the safe way to add rows. It automatically escapes values and prevents SQL injection — you never write raw SQL for a simple insert:
/**
 * Log a testimonial view.
 *
 * @param int $testimonial_id The testimonial post ID.
 * @return int|false The inserted row ID, or false on failure.
 */
public static function log_view( $testimonial_id ) {

    global $wpdb;

    $result = $wpdb->insert(
        self::table_name(),
        array(
            'testimonial_id' => absint( $testimonial_id ),
            'viewed_at'      => current_time( 'mysql' ),
            'visitor_ip'     => self::get_ip(),
        ),
        array(
            '%d',  // testimonial_id is an integer
            '%s',  // viewed_at is a string
            '%s',  // visitor_ip is a string
        )
    );

    return $result ? $wpdb->insert_id : false;
}
The third argument — the format array — tells $wpdb the data type of each value (%d for integers, %s for strings, %f for floats). This is a key security and integrity feature: specifying formats ensures values are properly escaped and typed. Always include it.
$wpdb->insert_id returns the auto-increment ID of the row you just created.
Step 5: Query Data with prepare()
For anything beyond simple inserts, you write SQL — and this is where security matters most. Never put variables directly into a query string. Always use $wpdb->prepare(), which safely parameterizes values against SQL injection:
/**
 * Get the view count for a testimonial.
 */
public static function get_view_count( $testimonial_id ) {

    global $wpdb;
    $table = self::table_name();

    // NEVER interpolate variables directly — always use prepare()
    $count = $wpdb->get_var(
        $wpdb->prepare(
            "SELECT COUNT(*) FROM $table WHERE testimonial_id = %d",
            absint( $testimonial_id )
        )
    );

    return (int) $count;
}
The %d placeholder in the query is replaced safely by prepare() with the escaped value. This is the single most important database security rule in WordPress: any query containing a variable must go through prepare(). No exceptions.
Note the table name itself is interpolated directly — that's acceptable because it comes from $wpdb->prefix, not user input. Only user-supplied values need prepare().
Step 6: The $wpdb Query Methods
The $wpdb class offers several methods depending on what shape of result you need:
get_var()— a single value (one cell), like a count or a single field.get_row()— a single row as an object or array.get_col()— a single column across multiple rows, as an array.get_results()— multiple full rows, the most common for lists.
Here's fetching a list of recent views with get_results():
public static function get_recent_views( $limit = 10 ) {

    global $wpdb;
    $table = self::table_name();

    $results = $wpdb->get_results(
        $wpdb->prepare(
            "SELECT * FROM $table ORDER BY viewed_at DESC LIMIT %d",
            absint( $limit )
        )
    );

    return $results; // array of row objects
}
Step 7: Update and Delete Rows
Like insert(), the update() and delete() methods provide safe, structured operations without writing raw SQL. Both take a WHERE array to target specific rows:
// Update rows matching a condition
public static function update_ip( $row_id, $new_ip ) {

    global $wpdb;

    return $wpdb->update(
        self::table_name(),
        array( 'visitor_ip' => sanitize_text_field( $new_ip ) ), // data
        array( 'id' => absint( $row_id ) ),                       // where
        array( '%s' ),  // data format
        array( '%d' )   // where format
    );
}

// Delete rows matching a condition
public static function delete_views_for( $testimonial_id ) {

    global $wpdb;

    return $wpdb->delete(
        self::table_name(),
        array( 'testimonial_id' => absint( $testimonial_id ) ), // where
        array( '%d' )                                            // where format
    );
}
Both methods return the number of rows affected, or false on error. The format arrays serve the same security purpose as in insert() — always provide them.
Step 8: Clean Up on Uninstall
A custom table is data your plugin created, so a proper uninstall should remove it. Add this to the plugin's uninstall.php:
// uninstall.php

if ( ! defined( 'WP_UNINSTALL_PLUGIN' ) ) {
    exit;
}

global $wpdb;

// Drop the custom table
$table_name = $wpdb->prefix . 'orbit_testimonial_views';
$wpdb->query( "DROP TABLE IF EXISTS $table_name" );

// Remove the DB version option
delete_option( 'orbit_testimonials_db_version' );
As with content deletion, dropping tables on uninstall is a judgment call — for logs and transient data it's appropriate, but for data a user might value, consider leaving it or offering a choice. DROP TABLE IF EXISTS avoids an error if the table is somehow already gone.
Handling Schema Upgrades in Future Versions
When a later version of your plugin needs to change the table structure, you don't ship a fresh install — existing users already have data. Use the stored DB version to detect and run upgrades:
function orbit_testimonials_check_db_upgrade() {

    $current = get_option( 'orbit_testimonials_db_version', '1.0.0' );

    if ( version_compare( $current, '1.1.0', '<' ) ) {
        // Re-run create_table — dbDelta applies only the changes
        Orbit_Testimonials_View_Log::create_table();
        update_option( 'orbit_testimonials_db_version', '1.1.0' );
    }
}
add_action( 'plugins_loaded', 'orbit_testimonials_check_db_upgrade' );
Because dbDelta() compares schemas and applies only differences, adding a new column to your CREATE TABLE statement and re-running it will add that column to existing tables without touching the data. This is how you migrate schemas safely across plugin updates.
Security Checklist for Custom Tables
- Always use
$wpdb->prepare()for any query containing variables. This is non-negotiable. - Use
insert(),update(), anddelete()with format arrays instead of raw SQL wherever possible. - Sanitize input before it reaches the database —
absint(),sanitize_text_field(), and so on. - Never hardcode the table prefix — always build from
$wpdb->prefix. - Specify data formats (
%d,%s,%f) on every insert and update. - Index columns you query against for performance at scale.
Final Thoughts
Custom database tables are a powerful tool for the right job — large volumes of structured, queryable data that don't fit the post model. The key is knowing when to use one (rarely, but decisively) and how to use it safely. The $wpdb class gives you everything you need: dbDelta() for schema management, structured methods for CRUD, and prepare() for injection-safe queries.
Treat every database interaction as a security boundary. Prepare every query, sanitize every input, specify every format — make these reflexes, and your custom tables will be both fast and safe. Combined with the plugin architecture, settings, and clean-code practices from earlier posts, you now have the full toolkit for building serious, data-driven WordPress plugins.
In the next post, we'll connect this plugin to the outside world — making secure external API requests with the WordPress HTTP API, handling responses, caching results, and dealing gracefully with failures and rate limits.