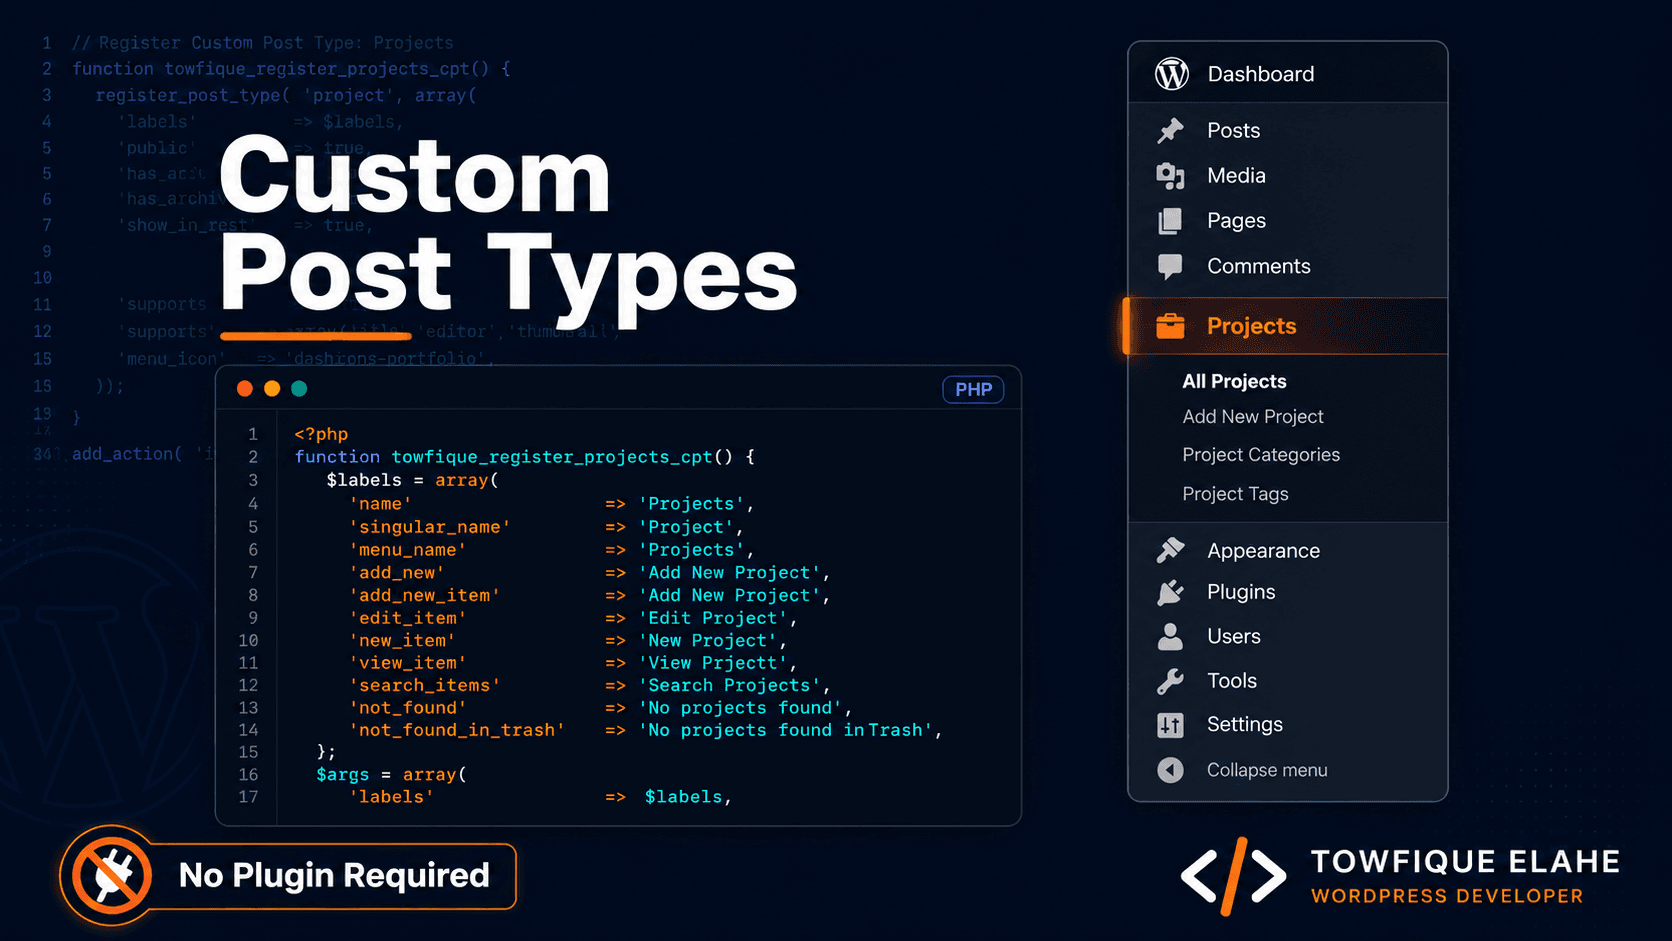
How to Create Custom Post Types in WordPress Without a Plugin
Most developers reach for a plugin to register custom post types — but you don't need one. Learn how to register CPTs directly in PHP, add custom labels, set up rewrite slugs, enable archives, and keep your WordPress install lean and fast.
How to Create Custom Post Types in WordPress Without a Plugin
Custom Post Types (CPTs) are one of the most powerful features in WordPress. They let you structure content beyond the default posts and pages — think Projects, Services, Testimonials, Team Members, or Properties. Most tutorials point you toward plugins like CPT UI, but once you understand the underlying function, registering CPTs in pure PHP is faster, cleaner, and keeps your install lean.
This guide walks through everything you need — from the basic registration function to custom labels, archive pages, rewrite slugs, and hierarchical structures.
Why Skip the Plugin?
Plugins like CPT UI are great for beginners, but they come with trade-offs:
- An extra plugin dependency your client could accidentally deactivate
- Slightly heavier admin overhead on every page load
- CPT configuration stored in the database — not in version control
When you register CPTs directly in your theme's functions.php or a custom plugin file, the configuration lives in code. It's portable, version-controllable, and doesn't depend on any third-party plugin staying installed.
The Core Function: register_post_type()
WordPress provides the built-in register_post_type() function. It accepts two arguments: a unique post type key and an array of arguments. You hook it into init.
function orbit_register_projects_cpt() {
    $labels = array(
        'name'               => 'Projects',
        'singular_name'      => 'Project',
        'menu_name'          => 'Projects',
        'add_new'            => 'Add New',
        'add_new_item'       => 'Add New Project',
        'edit_item'          => 'Edit Project',
        'new_item'           => 'New Project',
        'view_item'          => 'View Project',
        'search_items'       => 'Search Projects',
        'not_found'          => 'No projects found',
        'not_found_in_trash' => 'No projects found in Trash',
    );

    $args = array(
        'labels'      => $labels,
        'public'      => true,
        'has_archive' => true,
        'rewrite'     => array( 'slug' => 'projects' ),
        'supports'    => array( 'title', 'editor', 'thumbnail', 'excerpt' ),
        'menu_icon'   => 'dashicons-portfolio',
        'show_in_rest' => true,
    );

    register_post_type( 'project', $args );
}
add_action( 'init', 'orbit_register_projects_cpt' );
Paste this into your functions.php, save, and you'll see a Projects menu item appear in the WordPress admin immediately.
Breaking Down the Key Arguments
public
Setting public => true makes the CPT visible on the front end and queryable. If you're building a CPT only for internal use (like a data store), set this to false.
has_archive
When set to true, WordPress creates an archive page at /projects/ automatically — listing all published posts of that type. You can also pass a string to customize the archive slug: 'has_archive' => 'our-projects'.
rewrite
Controls the URL slug for individual posts. array( 'slug' => 'projects' ) means your single project URL will be yoursite.com/projects/project-name. Always go to Settings → Permalinks and click Save after registering a new CPT to flush rewrite rules.
supports
Defines which built-in fields appear in the editor for this post type. Common values:
title— the post title fieldeditor— the main content editorthumbnail— featured imageexcerpt— short description fieldcustom-fields— enables the default custom fields panelpage-attributes— adds order and parent fields (needed for hierarchical CPTs)
show_in_rest
Set this to true to enable the block editor (Gutenberg) for this CPT and expose it via the REST API. If you're using Elementor or a classic editor, this is optional — but it's good practice to enable it.
Adding Custom Labels Properly
Labels control all the text strings in the WordPress admin — the menu name, button labels, search placeholders, and empty state messages. Taking the time to fill these out correctly makes the CMS experience feel professional for your clients.
At minimum, always define: name, singular_name, menu_name, add_new_item, edit_item, and not_found.
Creating a Hierarchical CPT (Like Pages)
By default, CPTs are flat — like posts. To make a CPT hierarchical (allowing parent-child relationships), add 'hierarchical' => true and include page-attributes in supports:
$args = array(
    'labels'       => $labels,
    'public'       => true,
    'hierarchical' => true,
    'has_archive'  => true,
    'rewrite'      => array( 'slug' => 'services' ),
    'supports'     => array( 'title', 'editor', 'thumbnail', 'page-attributes' ),
    'menu_icon'    => 'dashicons-hammer',
    'show_in_rest' => true,
);
This is exactly the structure used when building hierarchical service pages — where a parent service like Web Development has children like WordPress Development and E-Commerce Development. Each child inherits the parent's slug: /services/web-development/wordpress-development/.
Registering Multiple CPTs
For projects with several CPTs, keep things organized by registering each one inside its own function, all hooked to init:
add_action( 'init', 'orbit_register_projects_cpt' );
add_action( 'init', 'orbit_register_services_cpt' );
add_action( 'init', 'orbit_register_testimonials_cpt' );
Or wrap them all in a single function if you prefer fewer hooks. Either approach works — consistency matters more than the pattern you choose.
Organizing CPT Code: functions.php vs. Custom Plugin
For theme-specific CPTs (tied to that theme's design), placing the code in functions.php is acceptable. But if the CPT is core to the site's content structure — and should survive a theme switch — consider moving it to a must-use plugin (/wp-content/mu-plugins/) or a small standalone plugin file.
This is especially important for client sites where the theme may be updated or replaced later. Losing CPT registrations means losing all the custom post data from the admin — something no client wants to discover.
Flushing Rewrite Rules
After registering a CPT, WordPress needs to rebuild its rewrite rule table. If you visit a CPT archive or single page and get a 404, this is almost always the reason. Fix it by going to:
Settings → Permalinks → Save Changes
You can also flush programmatically during plugin/theme activation using:
function orbit_flush_rewrite_rules() {
    orbit_register_projects_cpt();
    flush_rewrite_rules();
}
register_activation_hook( __FILE__, 'orbit_flush_rewrite_rules' );
Displaying CPT Posts in Templates
Once registered, querying your CPT is the same as any standard WordPress query:
$projects = new WP_Query( array(
    'post_type'      => 'project',
    'posts_per_page' => 6,
    'orderby'        => 'date',
    'order'          => 'DESC',
) );

if ( $projects->have_posts() ) :
    while ( $projects->have_posts() ) : $projects->the_post();
        // your loop template
    endwhile;
    wp_reset_postdata();
endif;
For the archive page, WordPress will automatically use archive-project.php if it exists in your theme. For single posts, it uses single-project.php. If neither exists, it falls back to archive.php and single.php.
Quick Reference: Common Dashicons for CPTs
Use these values for the menu_icon argument to give each CPT a meaningful icon in the admin sidebar:
dashicons-portfolio— Projectsdashicons-hammer— Servicesdashicons-location-alt— Locationsdashicons-groups— Teamdashicons-format-quote— Testimonialsdashicons-products— Productsdashicons-media-document— Documents
The full icon list is available at developer.wordpress.org/resource/dashicons.
Final Thoughts
Registering Custom Post Types in PHP is one of those skills that pays off on every WordPress project. Once you've written it a few times, it takes under five minutes — and the result is a leaner, more maintainable site with no unnecessary plugin dependency.
For client builds, always register CPTs in code rather than through UI plugins. It keeps the configuration in version control, survives theme changes when placed in a mu-plugin, and makes the handoff significantly cleaner.
If you're building out a full content architecture with CPTs, custom taxonomies, and metaboxes, the next step is registering custom taxonomies and connecting them to your post types — which I'll cover in the next post.